
Home renovation duct cleaning is one of the most overlooked steps in any remodeling project. The EPA reports that indoor pollutant concentrations typically run 2 to 5 times higher than outdoor levels — and some pollutants reach 100 times higher after activities like paint stripping and sanding. A kitchen remodel, bathroom renovation, or basement finishing project generates enormous quantities of airborne particulate. Drywall dust, sawdust, paint fumes, insulation fibers, and adhesive vapors don’t just settle on your countertops. They enter your duct system through open registers and return vents, and your HVAC recirculates them into every room of the house.
Americans spend approximately 90% of their time indoors (EPA). After a renovation, that time is spent breathing air filtered through ductwork loaded with construction debris. The visible dust on surfaces is the portion that settled out of the air. The invisible portion — the finest particles — stays airborne, gets pulled into return ducts, and cycles through your HVAC system for weeks or months after the contractor leaves.
This guide covers six expert tips for managing duct contamination before, during, and after a home renovation. Whether you’re remodeling a kitchen in Lee’s Summit, finishing a basement in Overland Park, or replacing flooring anywhere in the Kansas City metro, these steps protect your air quality and your HVAC system from the debris that every renovation produces.
TL;DR: Every home renovation sends drywall dust, sawdust, and construction debris into your duct system. The EPA reports indoor pollutants run 2-5x higher than outdoor levels, and renovation activity pushes those numbers dramatically higher. Schedule professional home renovation duct cleaning after the final coat of paint dries and before you move furniture back in — it’s the only way to stop your HVAC from recirculating construction debris.
Tip 1: Why Does Home Renovation Duct Cleaning Matter More Than You Think?
The EPA notes that indoor pollutant levels can spike to 100 times above normal during renovation activities like sanding, paint stripping, and demolition. Home renovation duct cleaning addresses the contamination that enters your HVAC system during these activities — contamination that your furnace filter was never designed to handle at renovation-level volumes.
What Renovation Debris Actually Enters Your Ducts
Every renovation type generates its own signature contaminants. Kitchen remodels produce drywall compound dust from patching and sanding, sawdust from cabinet installation, tile cutting dust, and adhesive fumes from countertop installation. Bathroom renovations add grout dust, caulk fumes, and moisture that accelerates mold growth on duct surfaces. Basement finishing projects generate fiberglass insulation particles, concrete dust, and paint vapors in a space where return ducts often sit low to the ground.
Flooring replacement is particularly problematic. Tearing out old carpet releases years of trapped dust, pet dander, and allergens in a single burst. Sanding hardwood floors creates clouds of fine wood dust that hang in the air for hours. And cutting laminate or luxury vinyl plank generates plastic particulate that your furnace filter won’t fully capture. Each of these materials enters the duct system whenever the HVAC runs during the project.
But here’s what catches most homeowners off guard. Even after the visible dust settles and the contractor cleans up, the duct system holds everything it captured during the project. Every time the HVAC cycles on, it redistributes that stored debris. You cleaned the floors, wiped the counters, and admired the new backsplash — while the duct system quietly recycled construction dust into the air you’re breathing.
The Furnace Filter Can’t Handle Renovation Debris
Standard residential furnace filters are designed for normal household dust loads. A MERV 8 filter does a reasonable job catching pollen, dust mites, and mold spores under everyday conditions. But renovation debris overwhelms that capacity almost immediately. Drywall compound dust is extremely fine — particles as small as 10 microns pass through standard filters and enter the duct system on the other side.
During a renovation, homeowners often notice their furnace filter clogging within days instead of the usual one to three months. That rapid clogging is actually the filter doing its job on the large particles. The problem is what gets past. Fine drywall dust, paint overspray, and insulation microfibers are small enough to slip through the filter mesh, coat the interior of every duct run, and settle on the evaporator coil and blower assembly. That’s contamination no filter change will fix.
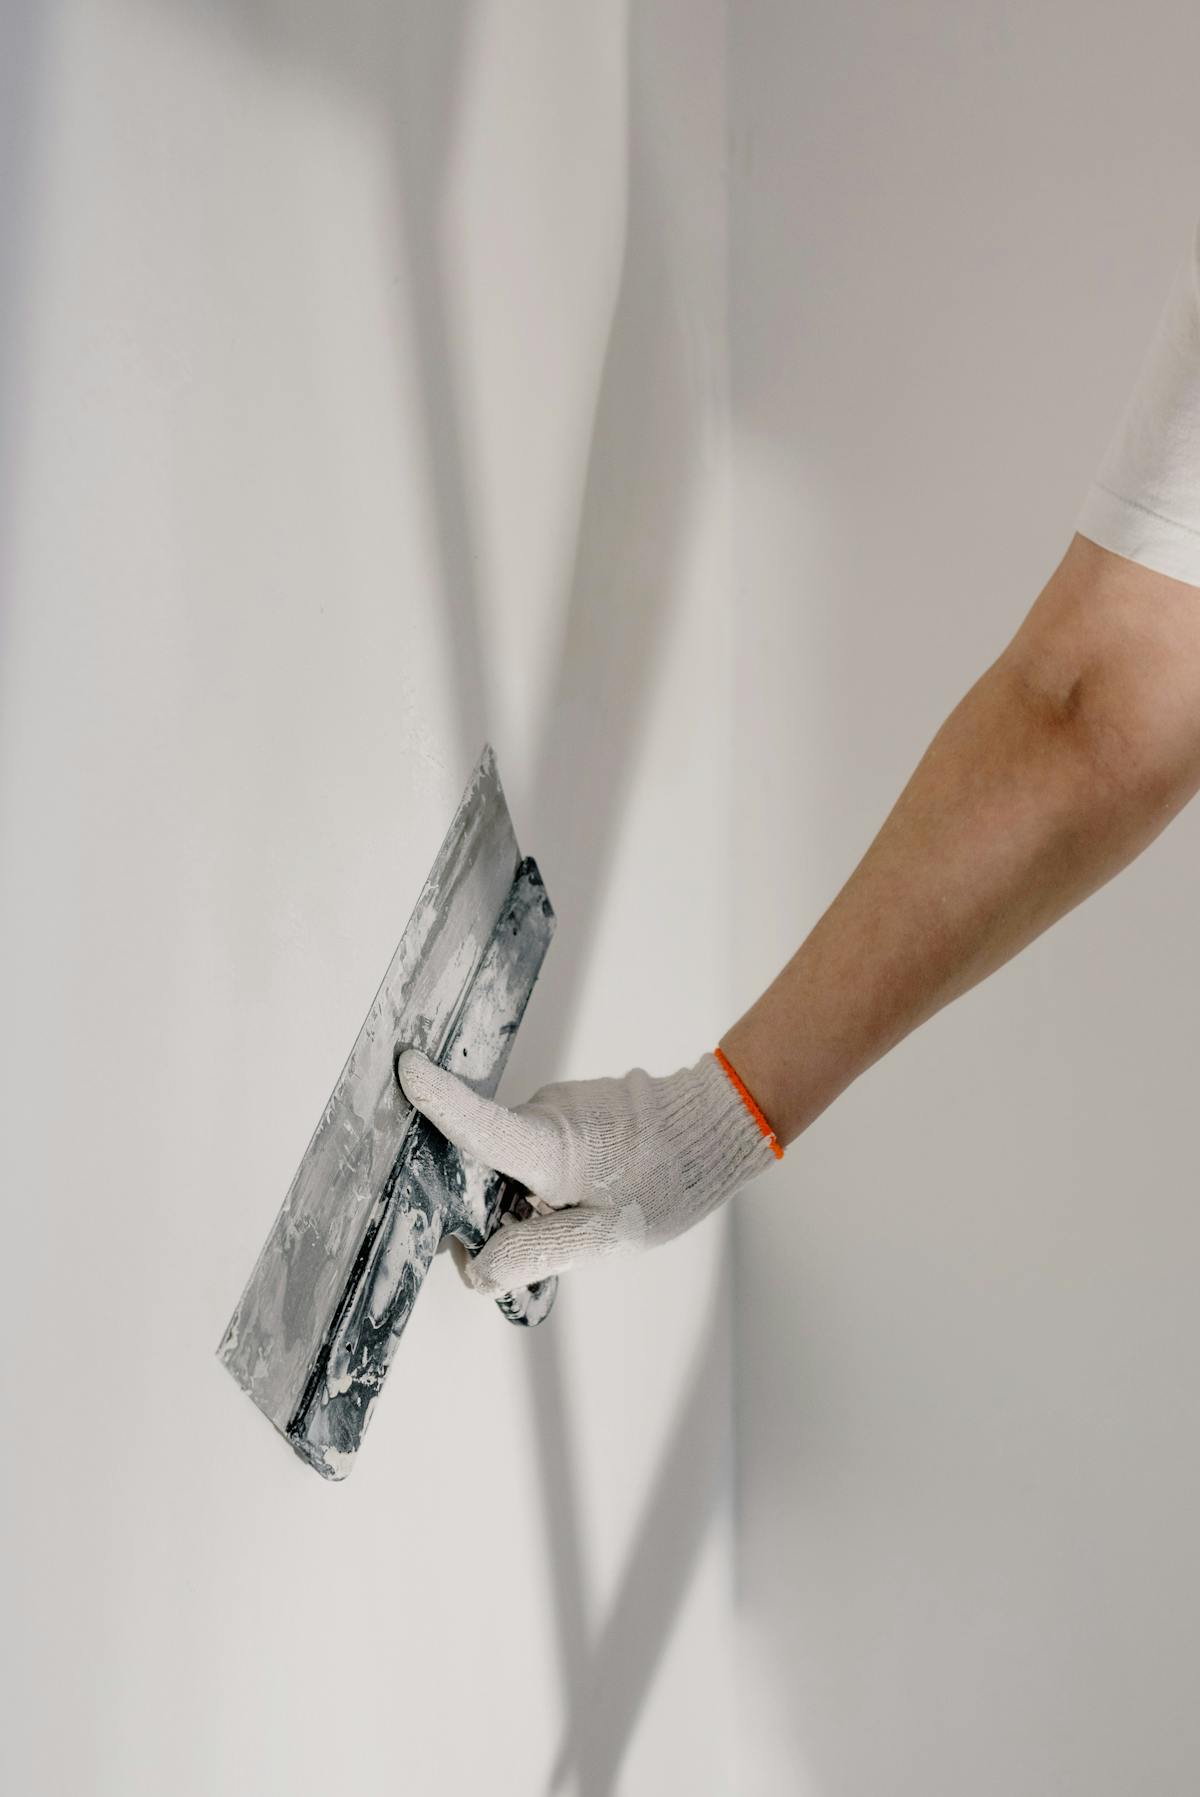
The renovation debris problem is fundamentally different from normal dust accumulation, and homeowners who treat it the same way get burned. Normal household dust builds up gradually over years. Renovation debris dumps months’ or years’ worth of contaminant load into the duct system in a matter of days. It’s like comparing a slow drip to a fire hose. A furnace filter that lasts three months under normal conditions might clog in 48 hours during a drywall sanding project. And the particles small enough to bypass the filter entirely are the ones that cause the most persistent air quality problems — because they’re also the ones your lungs can’t filter out.
Tip 2: How Should You Protect Ductwork Before a Renovation Starts?
According to ENERGY STAR, 20 to 30% of conditioned air escapes through duct leaks in typical homes. Those same leaks work in reverse during renovation — pulling dust-laden air into the duct system even when registers are covered. Pre-renovation protection is the most cost-effective step in the entire home renovation duct cleaning process because it reduces the contamination load before it starts.
Seal Every Register in the Work Zone
Before demolition or construction begins, cover every supply and return register in the renovation area. Use plastic sheeting and painter’s tape — not just the register cover flipped shut. The goal is an airtight seal that prevents construction dust from entering the duct opening. Return registers are especially important because they actively pull air (and whatever’s in it) into the duct system when the HVAC runs.
Don’t stop at the renovation room. If you’re remodeling the kitchen, seal the registers in adjacent rooms too. Drywall dust doesn’t respect doorways. It migrates through the house, and any open register within range becomes an entry point into the duct system. A roll of plastic sheeting and a roll of painter’s tape cost under ten dollars. That’s the cheapest duct protection you’ll ever buy.
Turn Off the HVAC in Affected Zones
If your system has zone controls, shut down the zone where renovation is happening. If you have a single-zone system — which most Kansas City homes do — consider turning the HVAC off entirely during the dustiest phases of work: demolition, drywall sanding, and flooring removal. Yes, this means temporary discomfort. But running the HVAC during active dust generation is like running a vacuum cleaner in reverse — it pulls contaminated air through every duct run in the house.
When the system must run (and in a Kansas City July or January, sometimes it must), change the furnace filter to the highest MERV rating your system can handle and change it daily during heavy dust days. That’s not an exaggeration. Daily filter changes during drywall sanding have saved homeowners hundreds in post-renovation duct cleaning costs.
In our work across Lee’s Summit and Overland Park, we’ve cleaned ducts after renovations where the homeowner sealed the registers versus where they didn’t. The difference is stark. Sealed-register homes still need post-renovation cleaning — dust finds its way in through return leaks and gaps. But the volume of debris is typically one-third to one-half of what we pull from homes where registers were left open. One Overland Park homeowner doing a full kitchen gut told us the contractor suggested covering the registers. She spent twenty minutes taping plastic over eight vents. When we cleaned the ducts after the project, the contamination was manageable. Her neighbor, who did a similar kitchen remodel without covering registers, had ductwork packed with drywall compound that took twice as long to clean.
Tip 3: When Is the Right Time to Schedule Home Renovation Duct Cleaning?
NADCA recommends annual duct inspections and professional cleaning every 3 to 5 years under normal conditions. But renovation isn’t a normal condition. It resets the clock entirely. The right time to schedule home renovation duct cleaning is after all dust-generating work is complete but before you move furniture back into the renovated space.
The Golden Window: After Paint, Before Furniture
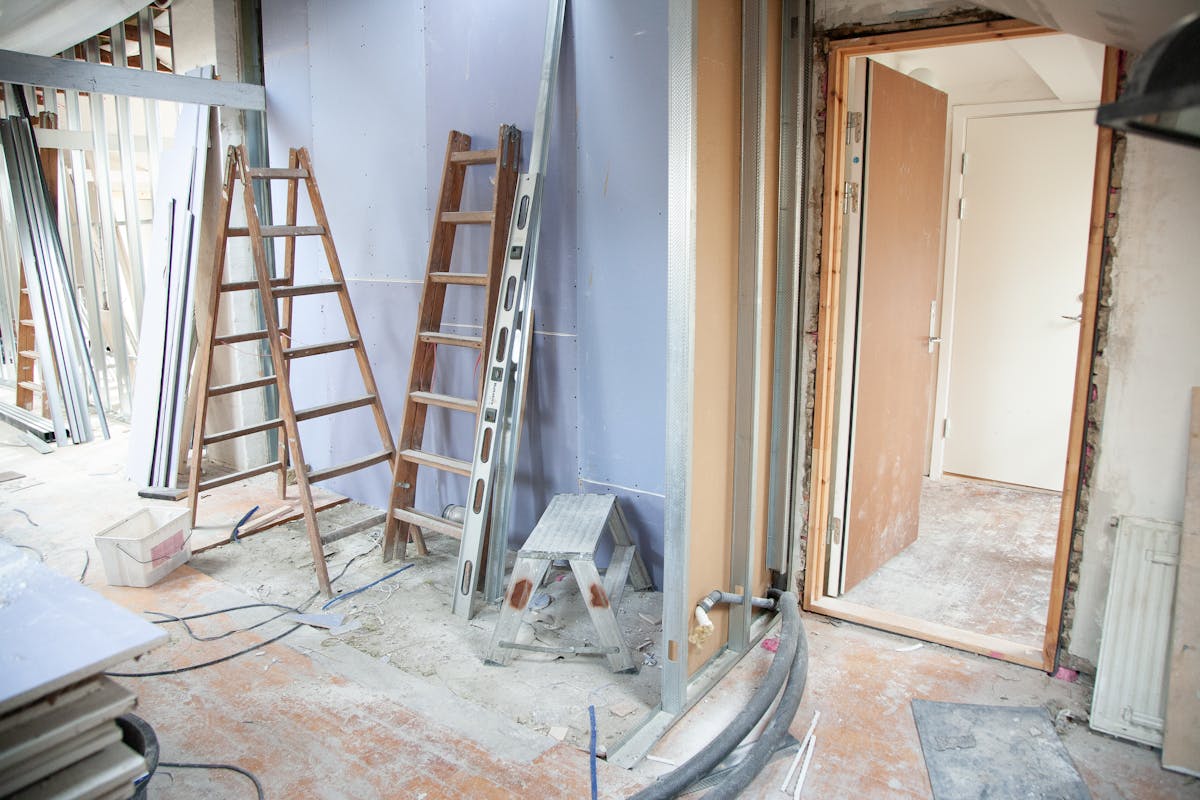
There’s a narrow window in every renovation timeline that’s perfect for duct cleaning. It opens when the last coat of paint dries and closes when the furniture goes back in. During this window, every register is accessible. No couches block floor vents. No beds cover bedroom returns. The technician can reach every access point without moving your belongings, which means faster work and a more thorough job.
Scheduling too early is a common mistake. If you clean the ducts after drywall is finished but before painting begins, paint fumes and overspray enter the freshly cleaned ductwork. If you clean after flooring installation but before trim work, the trim carpenter’s saw generates fresh sawdust. Wait until every dust-producing task is genuinely complete. The last paintbrush stroke, the last piece of trim, the last touch-up. Then call.
What If You Already Moved Back In?
It happens. The renovation ran long, you needed the room, and duct cleaning wasn’t on anyone’s radar. It’s not too late. Post-renovation duct cleaning works at any point — it just takes a bit more coordination when furniture is in place. The technician will need access to every register, which may mean moving pieces away from walls and lifting rugs off floor vents.
The longer you wait, the more renovation debris your HVAC distributes. Every heating and cooling cycle pushes stored construction dust back into your living spaces. If weeks have passed since the renovation ended and you’re still seeing fine dust settling on surfaces faster than usual, that’s the duct system telling you it’s loaded with debris. Don’t ignore that signal.
How can you tell whether the ongoing dust is from your renovation versus normal household accumulation? Run your finger along the top of a door frame or picture rail one day after dusting. If a visible layer returns within 24 to 48 hours, that’s abnormal. Normal household dust takes a week or more to visibly accumulate. Rapid dust return after renovation is construction debris circulating through the ducts.
Tip 4: Which Types of Renovations Cause the Most Duct Contamination?
The EPA identifies renovation and remodeling as one of the primary sources of elevated indoor pollution, with particulate levels sometimes reaching 100 times normal during activities like sanding and paint removal. Not all renovations are equal, though. Some generate dramatically more duct contamination than others, and knowing the worst offenders helps you prioritize protection and cleaning.
Kitchen Remodels: The Worst Offender
Kitchen remodels consistently produce the most duct contamination of any residential renovation. The reasons stack up. Cabinets get ripped out, generating plaster and drywall debris. New drywall goes up and gets sanded — multiple coats, multiple sanding passes. Countertop fabrication generates stone or quartz dust. Tile backsplash installation means thinset dust and grout haze. And the kitchen typically has multiple supply and return registers that sit at floor level, right where construction dust concentrates.
Add the timeline factor: kitchen remodels run weeks to months. That’s weeks to months of dust generation with the HVAC running at least part of every day. Even with register covers in place, the sheer duration and volume of particulate overwhelms basic precautions. We’ve cleaned ducts after Kansas City kitchen remodels where the trunk line looked like someone had poured a bag of flour inside it.
Bathroom Renovations: Moisture Plus Dust
Bathroom renovations combine the dust problems of a standard remodel with the added complication of moisture. Tile demolition, grout mixing, and cement board cutting generate heavy particulate. But the real issue is what happens after the construction phase. New showers, tubs, and fixtures introduce moisture into a space that’s been stripped of its ventilation barriers during renovation.
If bathroom supply or return ducts collect renovation dust and then get exposed to elevated humidity from the new fixtures, you’ve created ideal conditions for mold growth inside the ductwork. Drywall dust is organic material. Wet organic material in a dark, temperature-controlled environment — that’s a mold colony waiting to happen. Bathrooms are the renovation type where post-project duct sanitization becomes especially important, not just cleaning.
Basement Finishing: Hidden Contamination
Basement finishing projects are deceptive. The work happens “downstairs” so homeowners assume the rest of the house stays clean. But HVAC systems don’t care about floors. If the basement has supply or return ducts — and most finished basements do — construction debris enters the system and distributes throughout the entire home. Framing sawdust, insulation particles, drywall dust, and concrete sealer fumes all find their way into ductwork.
Fiberglass insulation is a particular concern during basement finishing. Cutting fiberglass batts releases tiny glass fibers that become airborne, enter ducts, and irritate eyes, skin, and respiratory systems. These fibers are too small to see but large enough to cause discomfort. They don’t show up on a visual duct inspection the way drywall dust does, but they’re there — and they recirculate every time the system runs.

Flooring Replacement and Interior Painting
Flooring projects generate surprisingly heavy duct contamination. Carpet removal releases trapped allergens and dust in a massive burst. Hardwood sanding creates fine wood particulate that penetrates everywhere. Even “clean” installations like click-lock laminate or luxury vinyl involve cutting material that produces plastic dust and off-gassing adhesive compounds.
Interior painting seems cleaner, but paint fumes and volatile organic compounds (VOCs) enter the duct system and can leave residue on interior duct surfaces. If you’re painting multiple rooms over several days with the HVAC running, the system is pulling paint-laden air through the return ducts, across the filter, and into every supply duct in the house. That’s why freshly painted rooms sometimes produce a lingering paint smell long after the walls are dry — the ducts absorbed the fumes and release them gradually.
Across the renovation duct cleaning jobs we’ve completed in the Kansas City metro, kitchen remodels account for the heaviest contamination by a wide margin. Drywall sanding alone generates more duct-clogging debris than most other renovation activities combined. The second-highest contamination comes from flooring replacement — particularly projects where old carpet was pulled and new hardwood was sanded and finished in place. Bathroom renovations rank third for debris volume but first for secondary mold risk due to the moisture factor. Basement finishes and painting produce less raw debris but generate the most persistent air quality complaints because of insulation fibers and VOCs that furnace filters can’t capture.
Tip 5: What Does Post-Renovation Duct Cleaning Actually Involve?
Professional air duct cleaning costs between $270 and $500, with the national average around $380 (Angi). Post-renovation cleaning follows the same core process as standard duct cleaning but often requires additional attention to areas where construction debris accumulates most heavily — trunk lines, return plenums, and the evaporator coil.
The Cleaning Process Step by Step
A qualified technician connects a high-powered vacuum to the main trunk line, creating negative pressure throughout the entire duct system. This means air flows toward the vacuum, carrying loosened debris with it. The technician then works through each supply and return register individually, using rotating brushes, compressed air whips, or both to agitate the debris coating duct walls.
For post-renovation cleaning, the technician pays extra attention to horizontal duct runs where heavy drywall dust settles by gravity. Vertical drops between floors tend to stay cleaner because dust doesn’t cling to vertical surfaces as readily. But trunk lines, which run horizontally through basements, crawlspaces, or attics, can accumulate thick layers of construction particulate. Branch runs near the renovation zone get the most aggressive cleaning.
The return side of the system often holds more renovation debris than the supply side. Return ducts pull air from the living space — and during renovation, that air is loaded with particulate. The return plenum, the large box connecting return ducts to the air handler, frequently contains the heaviest concentration of construction dust. A thorough post-renovation cleaning includes opening and cleaning this plenum directly.
Beyond Ducts: Components That Need Attention
Duct cleaning alone doesn’t address every surface that renovation debris contacts. The evaporator coil — the cold coil inside your air handler that cools air during summer — sits directly in the airstream. Fine drywall dust coats the coil fins and reduces heat transfer efficiency. A coil that’s caked with construction dust forces the system to work harder and longer to reach the set temperature, increasing energy costs and accelerating wear.
The blower wheel (also called the squirrel cage) spins inside the air handler and pushes air through the system. Its curved blades trap dust effectively, and renovation debris builds up on them quickly. A dust-loaded blower wheel is unbalanced, which causes vibration, noise, and premature bearing wear. Cleaning the blower during a post-renovation service protects your HVAC investment.
Finally, consider register replacement if your existing registers were exposed during the renovation. Old registers with accumulated paint layers, bent fins, and dust-packed louvers restrict airflow and harbor debris that cleaning can’t fully remove. New registers are an affordable upgrade that complements duct cleaning visually and functionally.

Should You Add Sanitization After Renovation?
Standard duct cleaning removes physical debris. Sanitization addresses biological contaminants — mold spores, bacteria, and allergens — that may have entered the system during renovation. It’s not always necessary, but certain renovation scenarios warrant it.
If the renovation involved plumbing work, standing water, or exposed the duct system to moisture, sanitization makes sense. If the project disturbed old materials that may contain mold — pulling up old carpet, opening walls with water damage history, or working in a damp basement — the risk of introducing mold spores into the ductwork is elevated. And if anyone in the household has asthma, severe allergies, or a compromised immune system, sanitization provides an extra layer of protection.
Tip 6: How Can You Protect Your Air Quality During the Renovation Itself?
Americans spend roughly 90% of their time indoors (EPA). During a renovation, indoor air quality drops dramatically — and if you’re living in the home while work happens (as most Kansas City homeowners do), you’re breathing that compromised air for the entire project duration. Protecting your air quality during renovation is just as important as cleaning the ducts afterward.
Create a Containment Barrier
Professional contractors on commercial projects use containment barriers as standard practice. Homeowners should demand the same for residential renovations. A simple plastic barrier hung across doorways between the work zone and the living space dramatically reduces dust migration. Use 6-mil polyethylene sheeting — it’s thick enough to hang without tearing and cheap enough to replace if it gets damaged during the project.
Seal the barrier with painter’s tape along all edges. Create a slit entry with an overlap so workers can pass through without opening the barrier completely. For major renovations lasting weeks, consider installing a temporary zipper door in the plastic for easier access. These cost a few dollars at any hardware store and maintain the seal far better than an open slit.
Use Portable HEPA Filtration
A portable HEPA air purifier running in the renovation zone captures airborne particulate before it migrates to the rest of the house. HEPA filters capture 99.97% of particles at 0.3 microns — small enough to catch drywall dust, sawdust, and insulation fibers that household furnace filters miss. Place the purifier in the work zone with the door or barrier closed and let it run continuously during dusty work.
For longer-term protection throughout the home, consider a whole-home air purification system installed in your HVAC. These units treat the air passing through the duct system and provide ongoing filtration that supplements what duct cleaning removes. They’re particularly valuable if your household includes allergy or asthma sufferers who are more sensitive to post-renovation air quality.
Communicate With Your Contractor
Not every contractor thinks about your duct system during renovation. Many have never been asked to protect ductwork. Bring it up before work starts. Specifically, ask them to cover all registers in the work zone with plastic and tape before demolition begins. Ask that cutting and sanding operations happen near open windows or exterior doors when possible. Request that they avoid running the HVAC during the dustiest phases of work.
A good contractor understands why this matters. A great contractor already does it without being asked. But most fall somewhere in between — willing to take precautions if the homeowner requests them, but unlikely to initiate the conversation. That responsibility falls on you. Five minutes of conversation before the project starts saves hours of cleaning and weeks of poor air quality later.
We’ve seen a clear pattern across hundreds of post-renovation duct cleaning jobs in the Kansas City area. Homeowners who communicated duct protection expectations to their contractor before work began had substantially cleaner ductwork afterward. It’s not that the contractors sealed everything perfectly — no containment is airtight. But the simple act of covering registers, hanging a plastic barrier, and shutting off the HVAC during demolition days reduced the debris load dramatically. The homeowners who didn’t communicate with their contractor — or who hired a crew that dismissed their concerns — consistently had the worst contamination. The contractor relationship is the most underrated factor in post-renovation duct condition.
Why Do Kansas City Homeowners Face Unique Post-Renovation Duct Challenges?
According to ENERGY STAR, 20 to 30% of conditioned air escapes through duct leaks in a typical home. Kansas City’s older housing stock, extreme seasonal temperatures, and active renovation culture create a combination that makes post-renovation duct cleaning especially important for local homeowners.
Older Homes, Leakier Ducts
Kansas City’s housing market skews older. Neighborhoods across Lee’s Summit and Overland Park include thousands of homes built in the 1950s through 1980s with original ductwork that’s developed gaps and loose joints over decades. When these homes get renovated — and they do, constantly — those leaky ducts pull construction debris from every direction. It’s not just the registers. It’s the gaps at every joint and connection in the system.
Older galvanized steel ductwork also has corroded interior surfaces that trap renovation debris more aggressively than smooth modern materials. Drywall dust bonds to rough, pitted metal and doesn’t release easily. Cleaning ducts in an older home after renovation requires more aggressive agitation than cleaning the same debris from newer flex or smooth-wall ductwork.
Climate Drives Year-Round HVAC Use
Kansas City’s climate makes HVAC-free renovation windows extremely narrow. Summer temperatures regularly exceed 90 degrees with oppressive humidity. Winter drops below freezing for weeks. The brief shoulder seasons in spring and fall might offer a few weeks where you can open windows and shut off the system — but renovation timelines rarely align with weather windows.
The result: most Kansas City renovations happen with the HVAC running at least part of every day. That means the system is actively pulling contaminated air through the ductwork throughout the project. Homeowners in milder climates can simply shut off the HVAC for the duration and open windows. Kansas City homeowners don’t have that luxury for six to eight months of the year. This makes pre-renovation register sealing and post-renovation duct cleaning even more critical locally than the national statistics suggest.
Kansas City sits in a unique climate zone where homeowners can’t realistically shut off HVAC during most of the year. That simple fact changes the entire calculus of renovation duct contamination. National advice that says “turn off the system during renovation” works fine in San Diego or Portland. In a Kansas City July with 100-degree heat and 80% humidity, nobody’s turning off the AC for a three-week kitchen remodel. And in a Kansas City January, running the furnace isn’t optional. This means KC-area homes accumulate more renovation debris in their ductwork than homes in milder climates, and post-renovation cleaning isn’t just recommended here — it’s practically mandatory.
Frequently Asked Questions About Home Renovation Duct Cleaning
How long after a renovation should I wait to have the ducts cleaned?
Wait until all dust-generating work is complete — including the final coat of paint, trim installation, and any touch-up sanding. Most contractors need one to three days after the last dusty task before the air settles enough for effective cleaning. The ideal window is after the project ends but before furniture returns to the renovated space, giving the technician unobstructed access to every register.
Does home renovation duct cleaning cost more than regular duct cleaning?
Professional duct cleaning typically costs $270 to $500, averaging about $380 (Angi). Post-renovation cleaning generally falls within the same range, though heavily contaminated systems with thick drywall dust buildup may require additional time and effort. Ask for a post-renovation assessment — a technician can evaluate the contamination level and provide an accurate quote before work begins.
Can I clean renovation dust from my ducts myself?
You can vacuum visible debris from register openings and the first few inches of duct runs using a household vacuum with a hose attachment. But this won’t reach the trunk lines, branch runs, or components where the heaviest renovation debris collects. Professional equipment creates negative pressure across the entire system and uses rotating brushes that reach places a household vacuum simply can’t access. DIY cleaning addresses maybe 5% of the problem.
Should I have the ducts cleaned before or after a renovation?
After. Cleaning before a renovation wastes money because the project will contaminate the ducts again. The exception: if your ducts are already so dirty that you want a baseline cleaning before starting, that’s reasonable — but plan on a second cleaning after the renovation ends. The post-renovation cleaning is the one that matters most for your air quality going forward.
Will covering registers completely prevent renovation dust from entering the ducts?
ENERGY STAR reports that 20-30% of conditioned air escapes through duct leaks, and those same gaps allow dust to enter. Covering registers significantly reduces contamination but doesn’t eliminate it. Fine dust enters through gaps at duct joints, connections, and any point where the system isn’t perfectly sealed — which, in homes older than 20 years, is essentially everywhere. Post-renovation duct cleaning is still necessary even if you sealed every register.
How do I know if my ducts need cleaning after a renovation?
Check three things. First, remove a register cover and look inside with a flashlight — visible dust coating the interior confirms contamination. Second, check your furnace filter — if it clogged rapidly during the renovation, debris also passed through to the duct system. Third, notice whether fine dust returns to surfaces within 24-48 hours of cleaning. Rapid dust return after renovation is the duct system redistributing construction debris every time the HVAC cycles on.
Get the Construction Dust Out of Your Air
A renovation transforms your home. But it also fills your ductwork with debris that your HVAC circulates into every room, every day, long after the contractor leaves. Drywall dust in the trunk line. Sawdust in the branch runs. Paint residue on the evaporator coil. None of it belongs there, and none of it goes away on its own. The only path to genuinely clean air after a remodel is professional duct cleaning.
Six tips. Seal your registers before work starts. Communicate with your contractor about duct protection. Time the cleaning for that golden window after the last paint stroke and before the furniture goes back. Know which renovation types cause the worst contamination. Understand what the cleaning process covers. And protect your air quality throughout the project, not just at the end. Follow these steps and your beautifully renovated home comes with the clean air to match.
Duct Pros serves homeowners throughout the Kansas City metro, including Lee’s Summit, Overland Park, and surrounding communities. We specialize in post-renovation air duct cleaning, sanitization, and air purification to make sure your remodel doesn’t come with a side of construction dust in every breath. Call 816-377-1898 to schedule your post-renovation cleaning, or visit our services page to learn more.